Photo by Steve Johnson on Unsplash
延續 Longhorn — 雲原生儲存系統試玩(上)的文章,本篇將繼安裝說明後,繼續解說如何實際運用 Longhorn。
Longhorn 安裝完成之後會自動建立一個叫作 longhorn 的 StorageClass。我們可以透過這個 StorageClass 建立 PersistentVolumeClaim,接著 CSI plugin 就會自動在 Longhorn 建立一個 volume 並創建一個對應的 PersistentVolume 與我們建立的 PersistentVolumeClaim 綁定在一起。
# pvc.yaml
apiVersion: v1
kind: PersistentVolumeClaim
metadata:
  name: test-pvc
spec:
  accessModes:
  - ReadWriteOnce
  storageClassName: longhorn
  resources:
    requests:
      storage: 1Gi
根據上面的模版建立一個名為 test-pvc 容量為 1GiB 的 volume。要記得 storageClassName 必須設定成 longhorn。不過如果是用 helm 安裝 Longhorn 的話,會預設將 longhorn 這個 StorageClass 設定成系統預設值。所以在不指定的情況下會直接採用 longhorn 作為其 storageClassName。
如果不想要 longhorn 作為預設的 StorageClass,可以在 helm 安裝時設定 persistence.defaultClass 為 false:
...
persistence:
  **defaultClass: false  # true -> false**
  defaultClassReplicaCount: 1
  reclaimPolicy: Delete
  recurringJobs:
    enable: false
    jobList: []
...
又或者是直接編輯 longhorn-storageclass 這個 ConfigMap,把 storageclass.kubernetes.io/is-default-class 這個 annotation 改成 false 或是刪除掉。
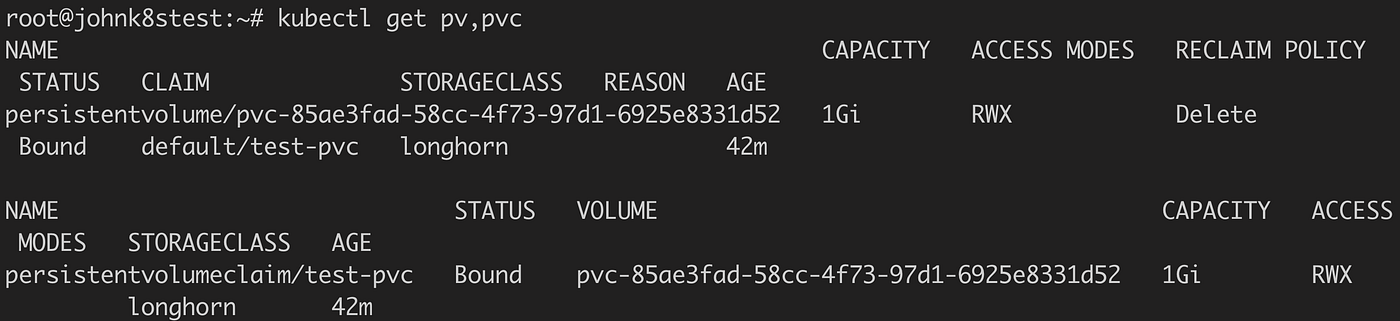
在建立完成後,可以看到系統已經自動建立好一個 PersistentVolume 並且與 test-pvc 綁定完成。
接著再建立一個 Pod,將 test-pvc 掛載上去:
# pod.yaml
apiVersion: v1
kind: Pod
metadata:
  labels:
    run: test
  name: test
spec:
  containers:
  - command:
    - sh
    image: alpine:3.7
    name: test
    tty: true
    stdin: true
    volumeMounts:
    - name: test-pvc
      mountPath: /data
  volumes:
  - name: test-pvc
    persistentVolumeClaim:
      claimName: test-pvc
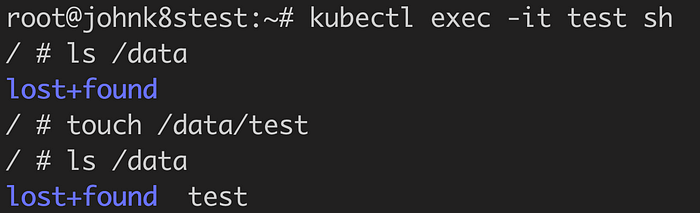
用上面的模版建立好 Pod 之後,進到 container 內驗證 volume 的運作:
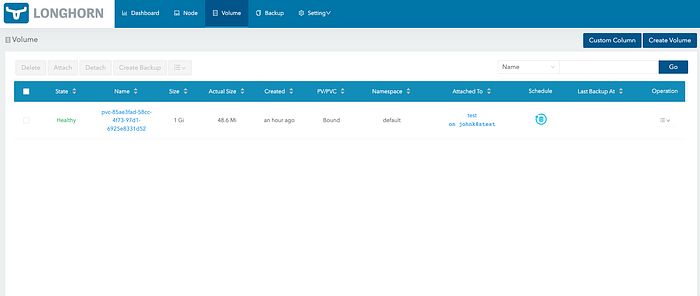
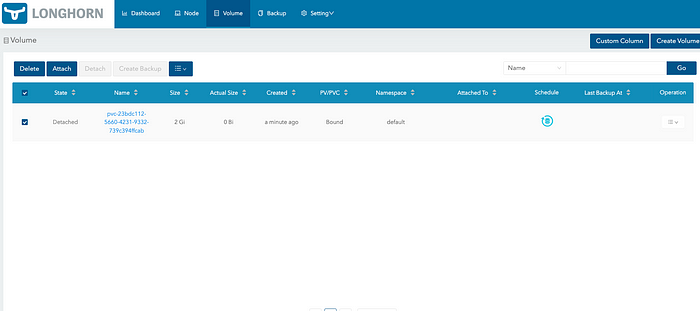
同時從 UI 上觀察 volume 的狀態:

擴充容量
當有擴充 volume 容量的需求時,可以透過兩種方式調整:
- 透過 UI 調整
- 透過 PersistentVolumeClaim 調整
不過要執行這個動作必須先把 volume 卸載才行,所以若是 volume 已經被掛載到某個 Pod 上的話,就必須先把那個 Pod 刪除。等 Pod 刪除完成後,應該可以從 UI 看到目前 volume 的狀態為 Detached。確認 volume 的狀態改變後,就可以執行擴充容量的動作。
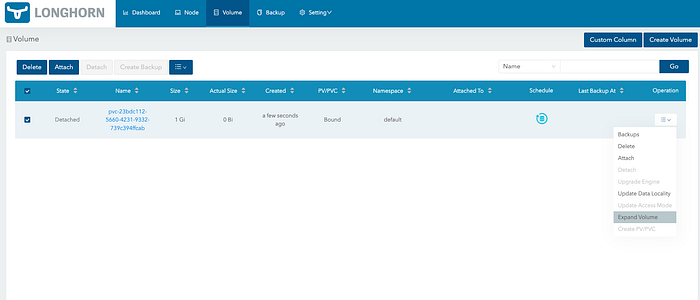
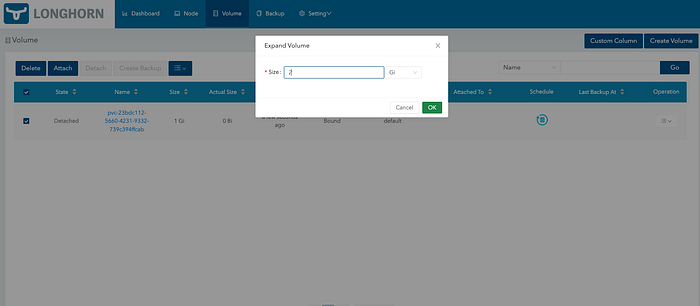
- 透過 UI 調整
在 volume 的右側選單中選擇 Expand Volume,填寫好新的大小後確認。接著等待擴充結束即可。
- 透過 PersistentVolumeClaim 調整
直接更新 PersistentVolumeClaim 的 spec.resources.requests.storage 即可。
apiVersion: v1
kind: PersistentVolumeClaim
metadata:
  name: test-pvc
spec:
  accessModes:
    - ReadWriteOnce
  storageClassName: longhorn
  resources:
    requests:
      storage: 3Gi
快照與備份
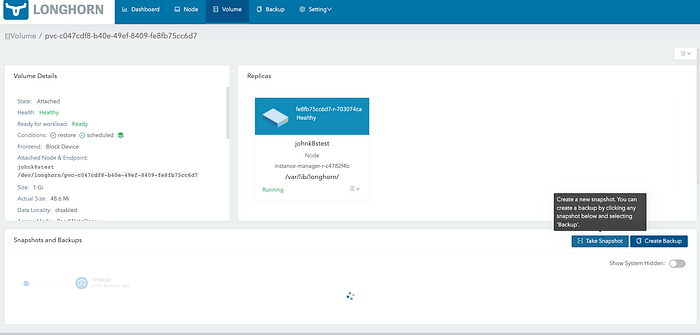
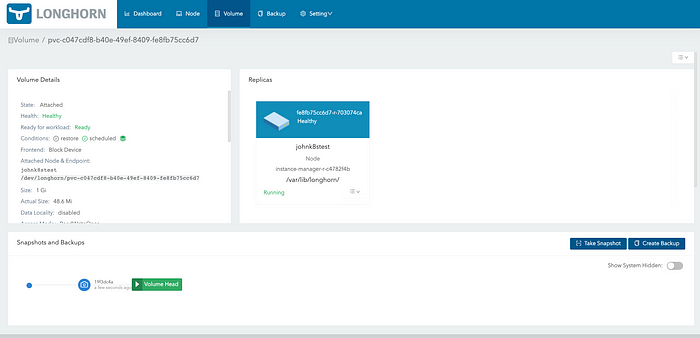
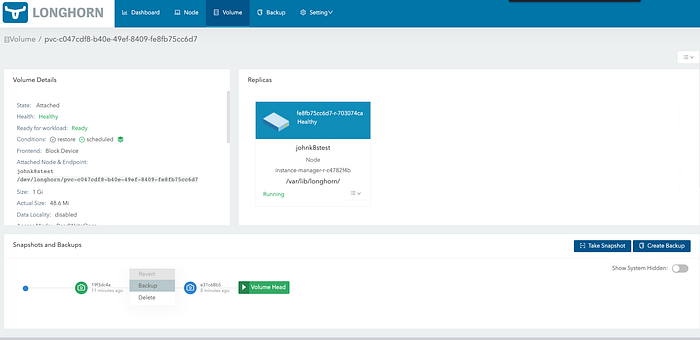
為了避免一些不當操作或是意外狀況導致資料的毀損,定期對 volume 做快照或備份是很重要的。 要對一個 volume 做快照,只要點選 volume 進到 details 頁面,然後按下 Take Snapshot 按鈕等待其執行結束即可。
除了透過快照將不同版本的差異化資料儲存在每個副本之外,也可以使用備份將快照的內容存放在外部的 NFS 或 S3 中。 備份的方式與快照類似,可以直接點選 Create Backup 按鈕對最新的快照做備份,或是指定備份某個版本的快照。
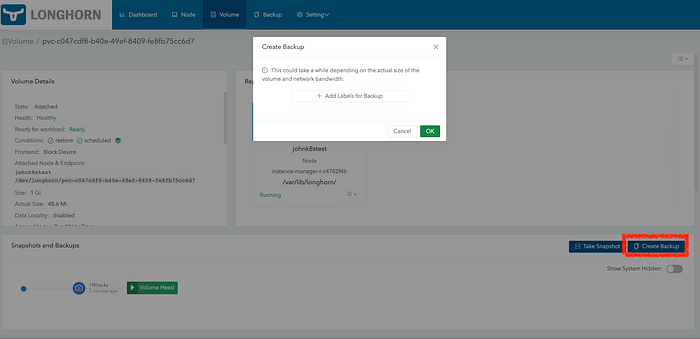
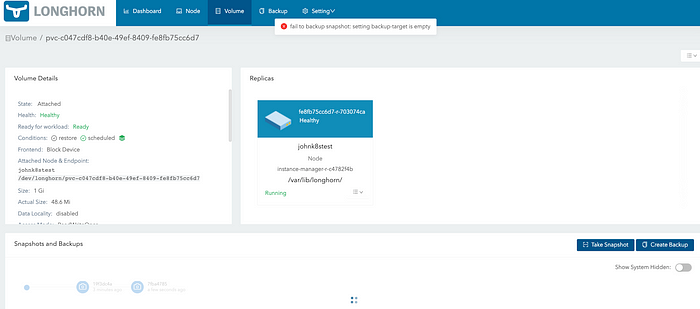
不過在執行備份前要先確認是否已經設定好備份的位置,不然就會像下圖一樣失敗。
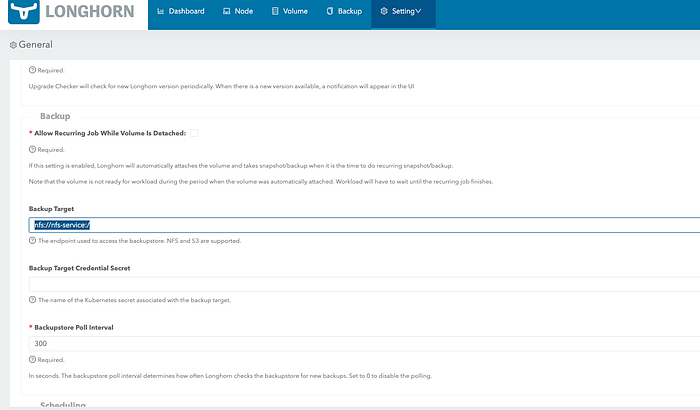
可以到 Settings 頁面,找到 Backup Target 這個欄位後,把備份的位置填寫上去,並且按下最下方的 Save。如果要知道備份位置的填寫格式,或是想要建立一個實驗用的備份服務 (NFS or S3),可以參考 官方的教學。
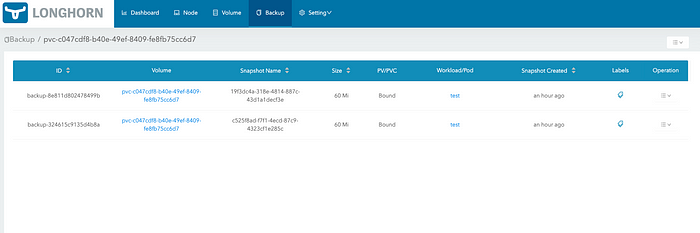
設定好後就可以執行備份操作,並且可以到 Backup 頁面瀏覽 volume 目前有哪些備份。

以上初步說明 longhorn 的實際使用方式,關於快照的使用方式以及 longhorn 其他更進階的使用方式,請繼續閱讀 Longhorn — 雲原生儲存系統試玩(下)
Reference
- Longhorn | The Longhorn Documentation
- CNCF接納Rancher Longhorn為沙箱項目,加速K8S持久化儲存發展
- Day 12 Kubernetes 持久戰 - Rancher Longhorn 安裝基礎操作篇
- Longhorn 微服務化儲存初試
- longhorn-engine 源碼分析